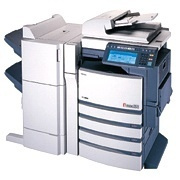
So It was not a dark and stormy Thursday afternoon when I decided to go onto Kijiji and check out whats free for the week. In case your wondering if you goto a category then click on the “For Sale” category you can then filter the entire site by a price of $0 to locate everything free. It just so happens that paid off for me as I saw an add for a Toshiba e-Studio 3511 color coppier that was NFG and free if you can pick it up. I seriously didn’t believe this at first as I figured why would a company give away a busted copier? Don’t they usually lease or have some sort of product upgrade plan? So I dropped them an email.
Enter Friday
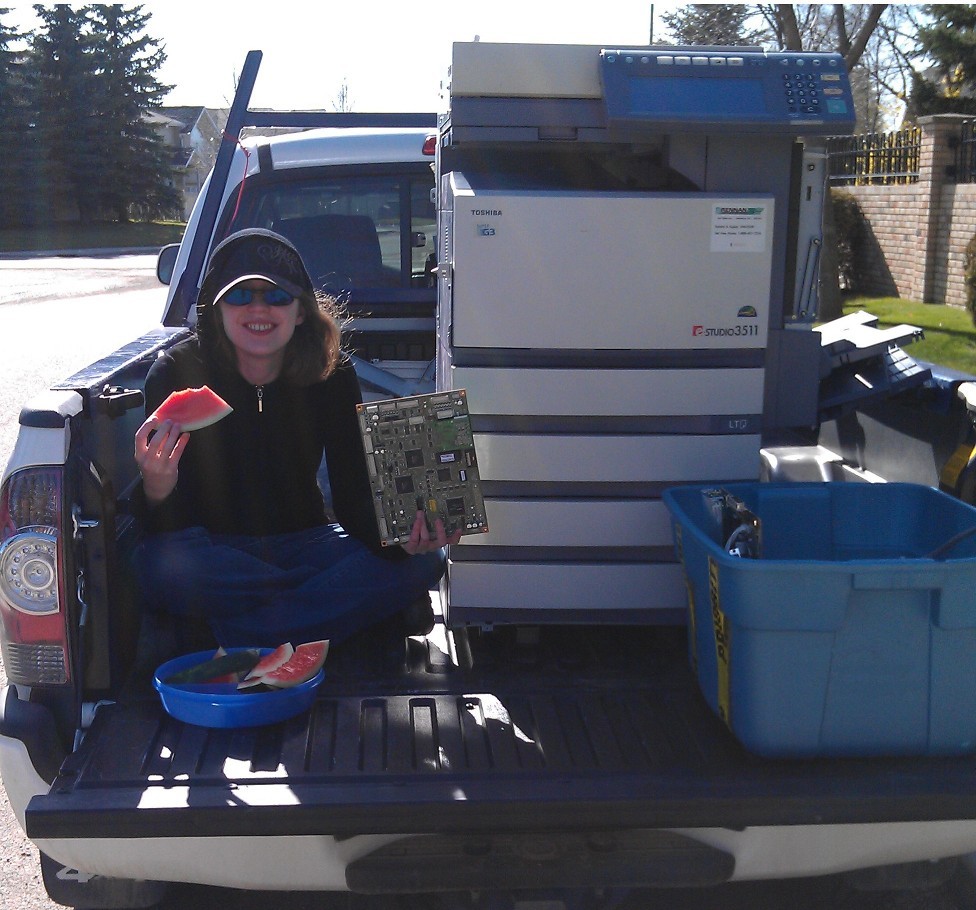
I awoke to find an email from them saying they just want the copier gone as its in everybody’s way and if I came that day they would even help me get it into my truck! So like any good citizen I came to the rescue and we managed to wrestle the 450lb beast into the box.
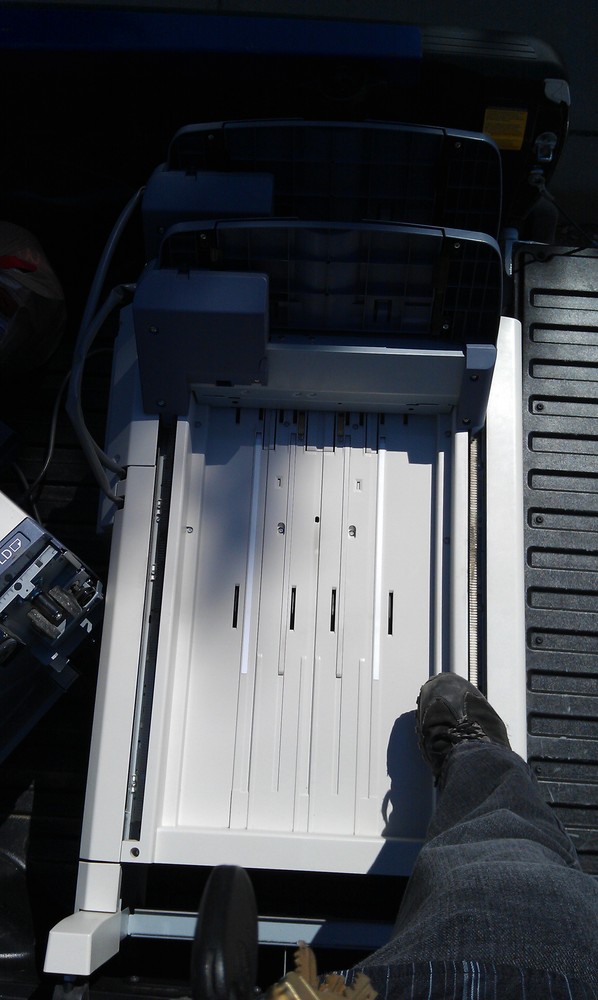
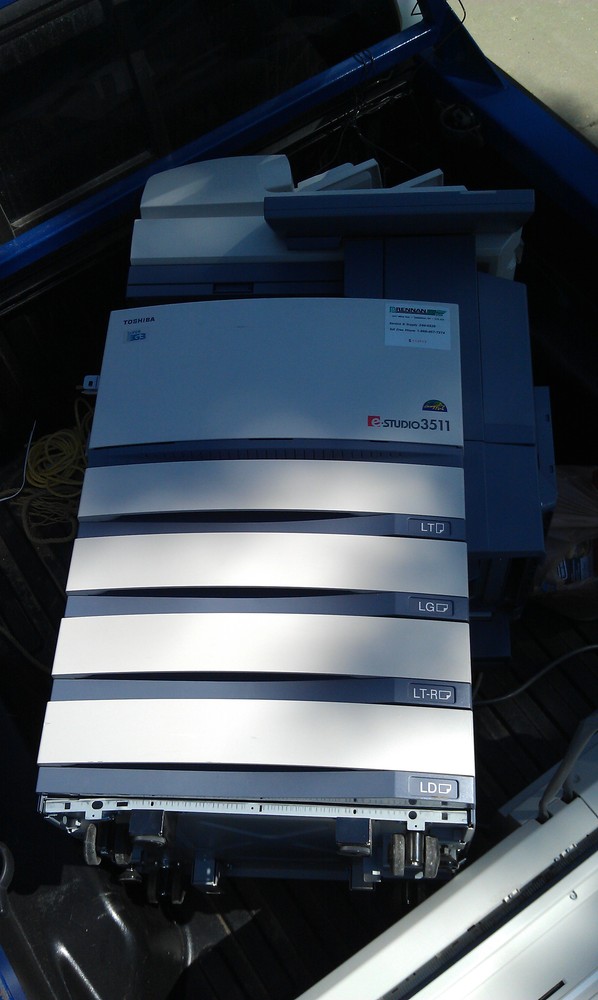
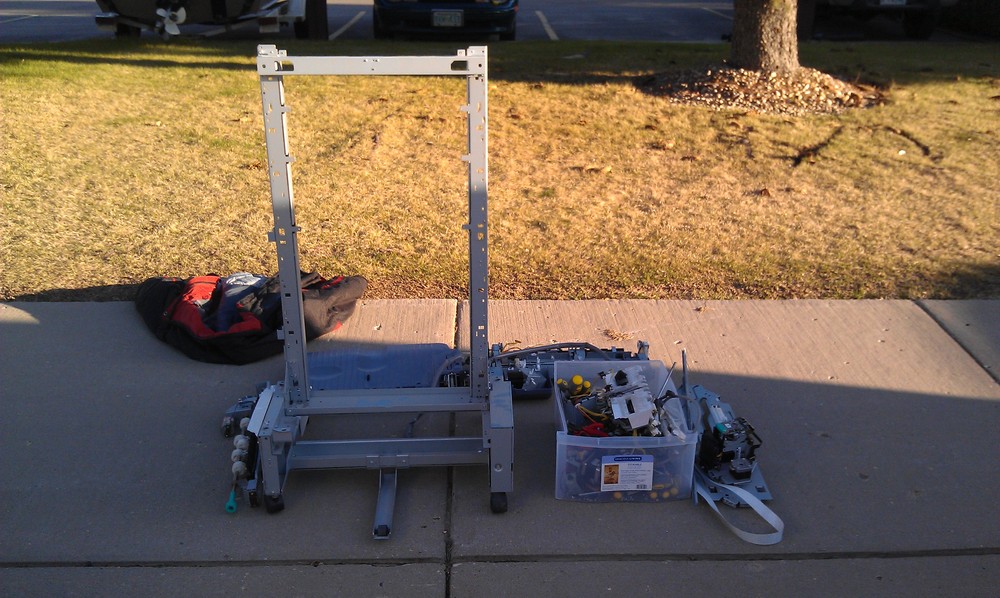
The only way I could get it to fit into the 1/4 tons box is jammed on an angle. Luckily it was NFG already as we dropped it a few tI’mes. I drove home and sat on the sidewalk for about an hour thinking about the best way to approach this beast as I had conviently left all of my tools as work and only had a $12 Home Depot discount screwdriver kit. Upon realizing that their was no good way to go start trearing apart a photocoper I grabbed a screwdriver and attacked the paper handler.
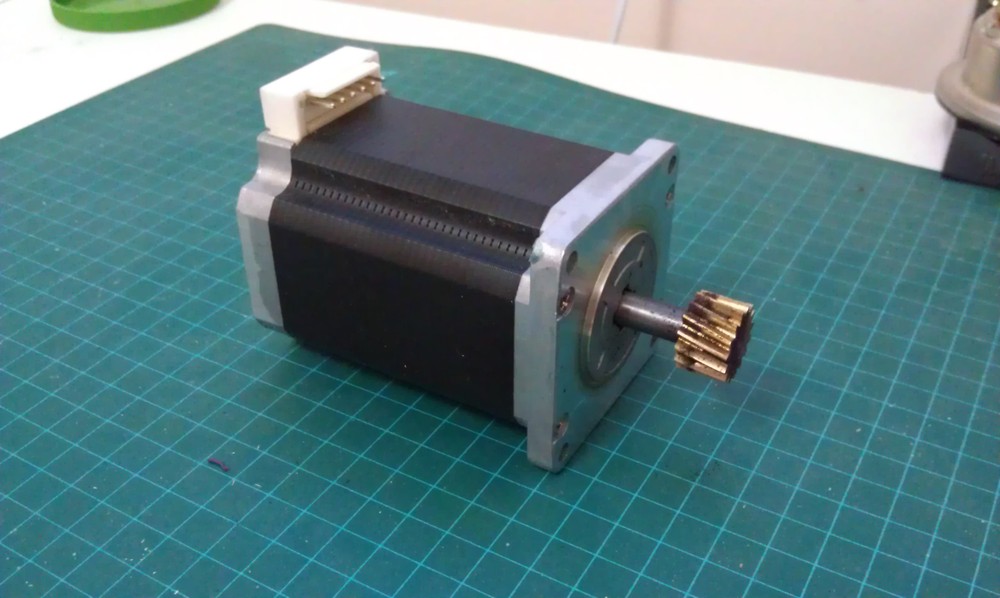
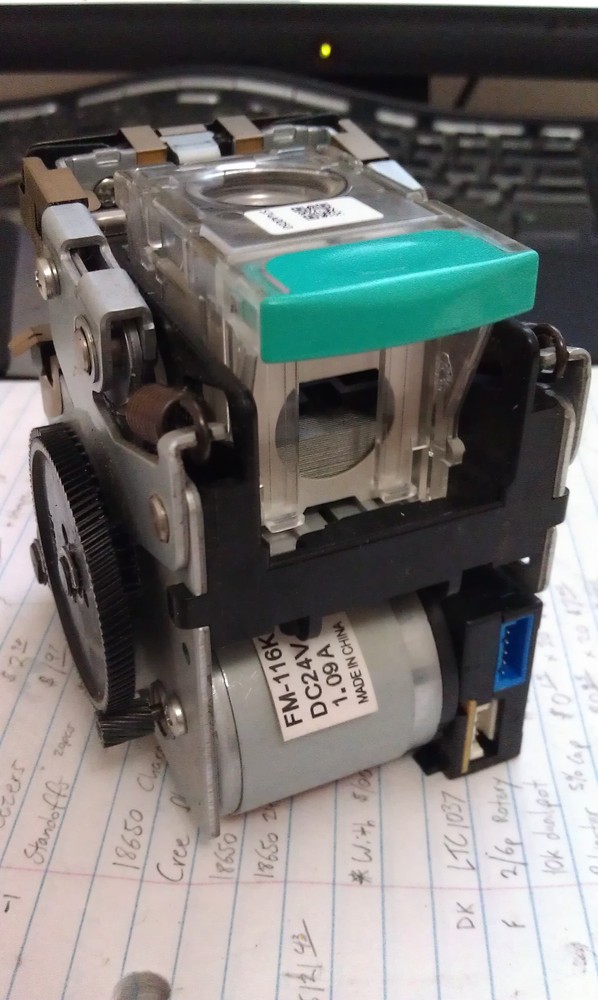
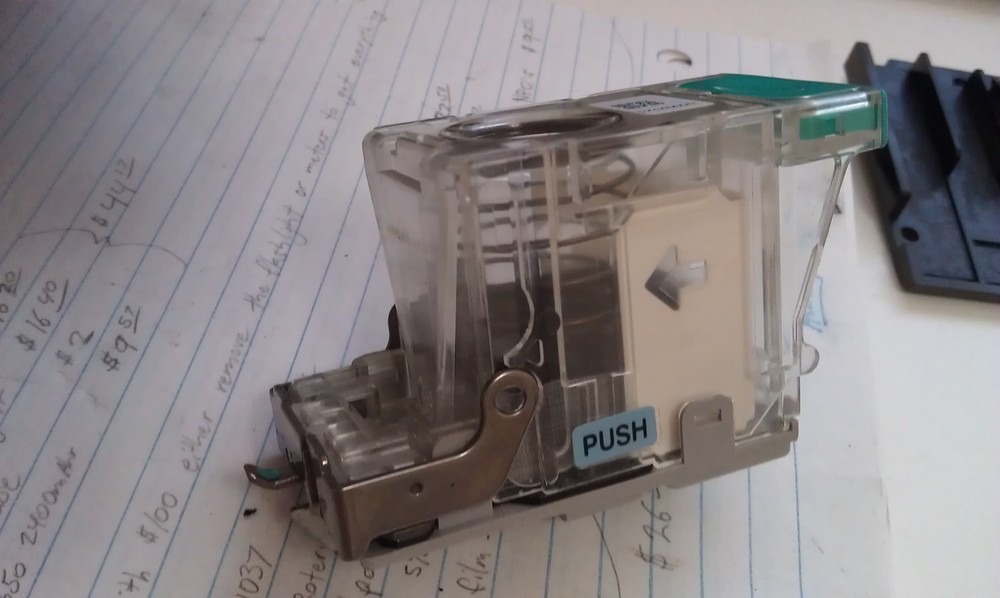
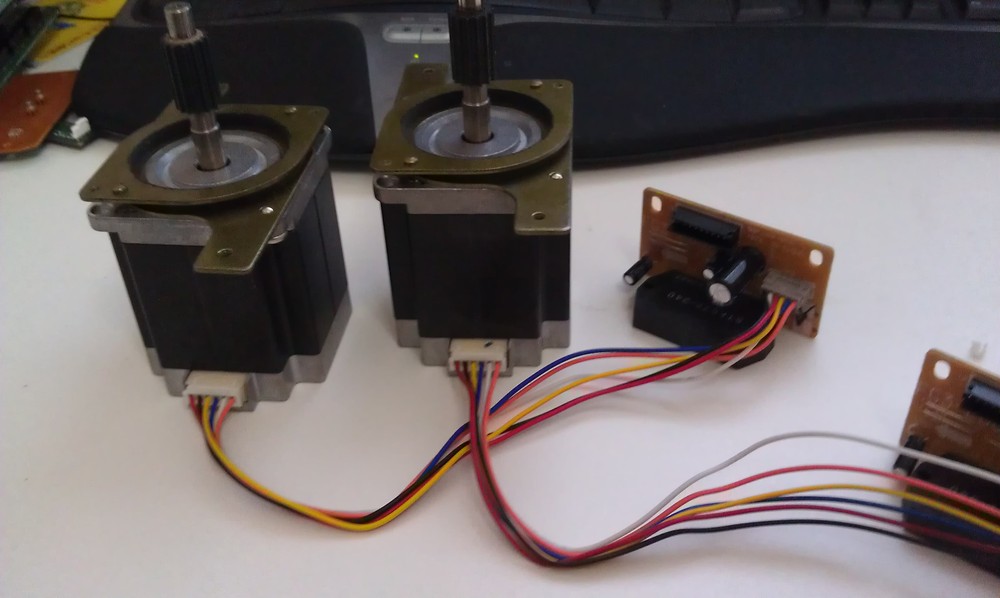
Before I realized it the sun started setting and my neck had a horrible sunburn but I was stoked on all the goddies I had pulled from just the paper handler! I’m talking rack and pinion gears, solonoids, NEMA34 stepper motors WITH drivers! And that was just the begenning. I also found a crazy stapler that ran on a question mark shaped track so it would staple up the spine or on the edges of pages and it holds a 3000 staple cartridge that was half full. I took all of the rolly bits off and am going to put a sI’mple ATTiny controller on it with a push button so I have a hardcore desk stapler. Then I discovered a power hole punch that does a fantastic job of making confetti. I decided it was less usefull than the stapler but as we do not have a 3-hole punch I tunred it into a manual one and put it in my stationary drawer. Their where also a few PCB’s with a bunch of little gull wing SOIC H-Bridge chips that looked handy so I took everything including the connectors and put them in my parts bin.


At the end of the day all that was left was a box of parts and an interestingly shapped rack on wheels. A rack that just so happens to be 19.5in across which is what the standard data rack is. I am quite undecided what to do with this but I have an idea of putting my benchtop power supplies, osciliscope, function generator and an old laptop on it as a handy moveable test center.
End Of Day One
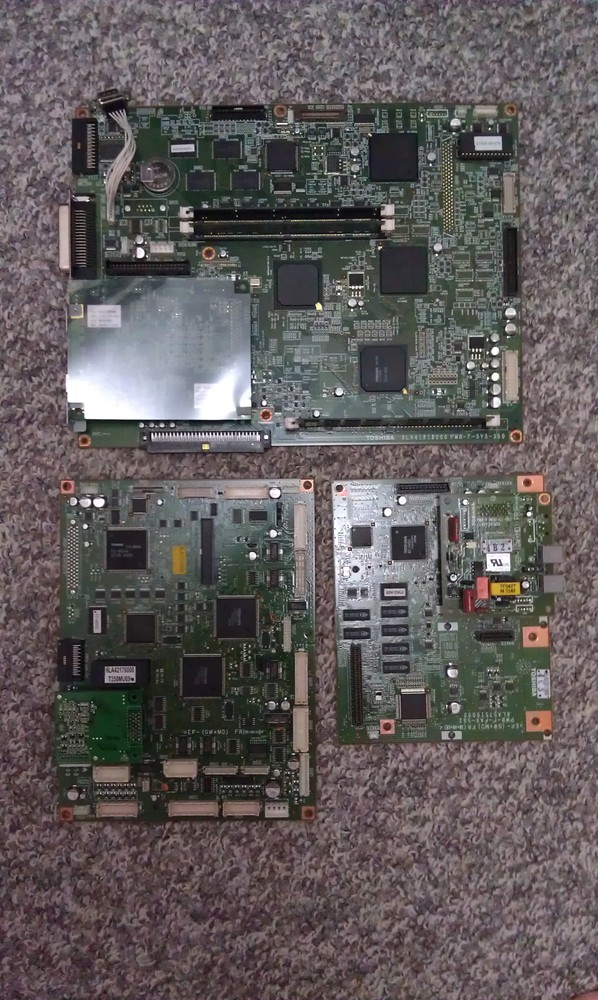
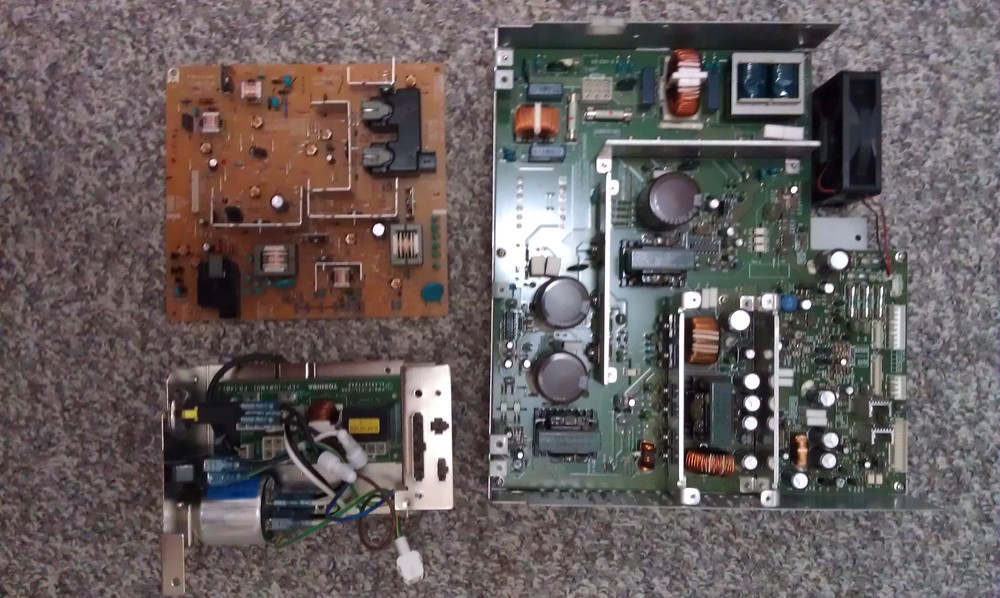
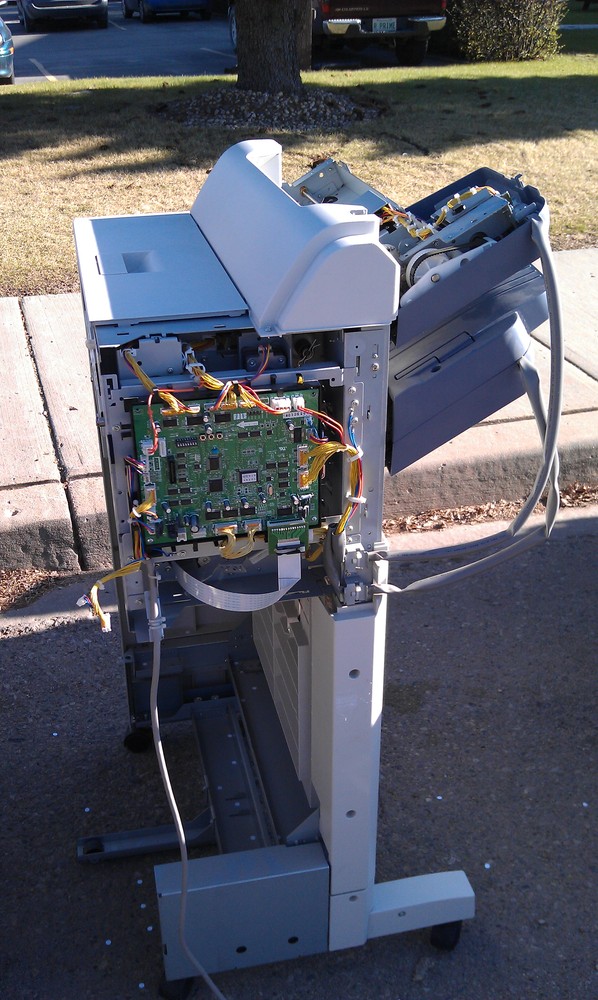
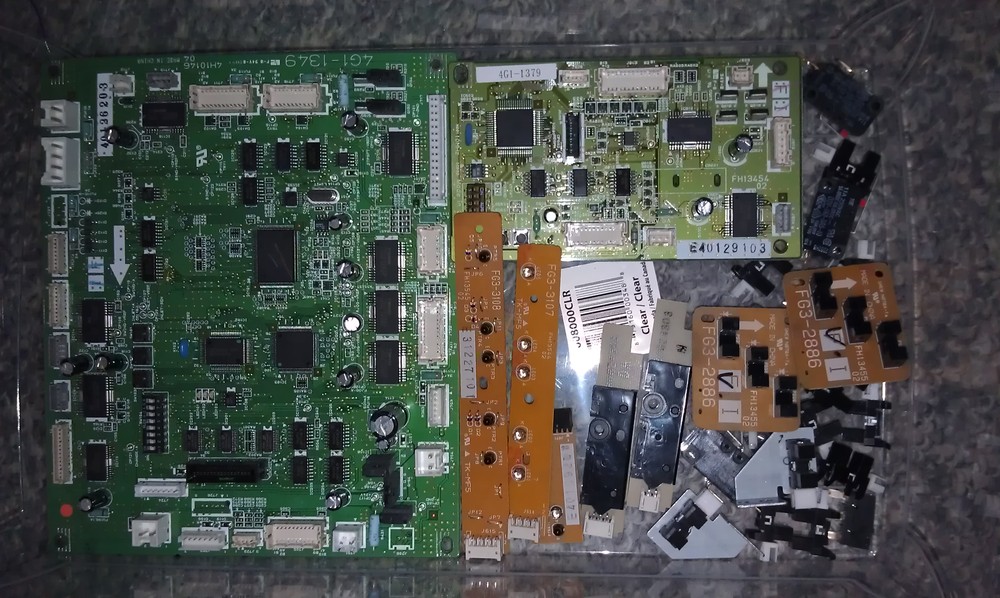
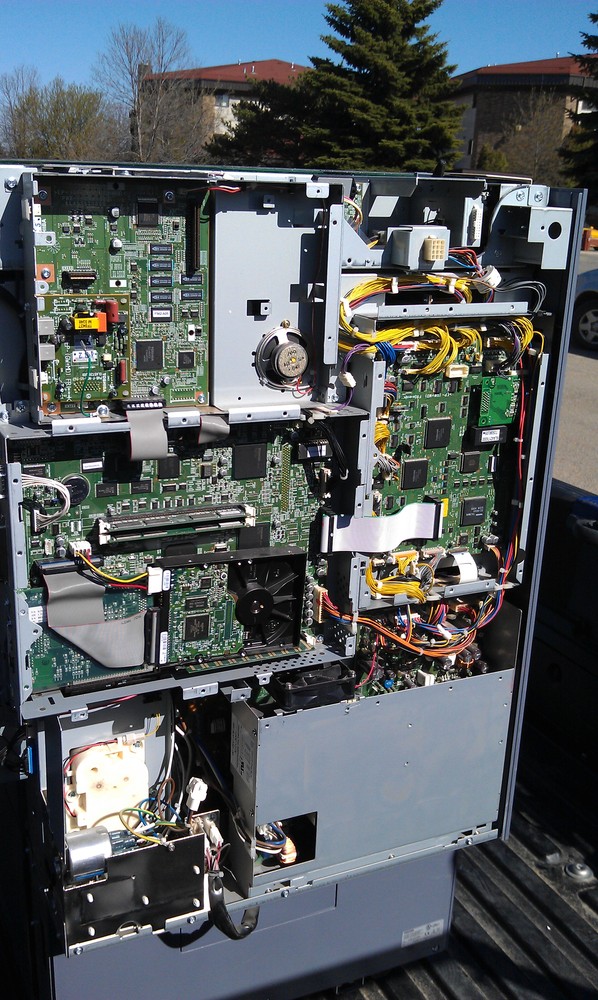
Saturday.. Day two of the tear down and I awoke with determination to score some goddies from the behemoth. The outside plasic bits provided no challange at all and the odd one that did got the pry bar and before I knew it I had found an interesting selection of printed circuit boards. Now their was quite a few of them and that looks alot like a DI’mM memory module there… Turns out that this machine runs a version of winCE and runs on a VERY propritary thin client. It has 128mb RAM and 32mb of more RAM in a second slot?? Their appears to be two identical cpu’s under a custom Toshiba unmarked package so I’m not sure whats going on there. On top of the motherboard is an ethernet card on what I assume is a PCI bus as the realtek controller is PCI interface. Above the mobo is a fun dual fax modem complete with neon light current lI’miter on the phone line lol. The east board is a collection of motor drivers and what I later found out to be the controller logic for the laser unit.
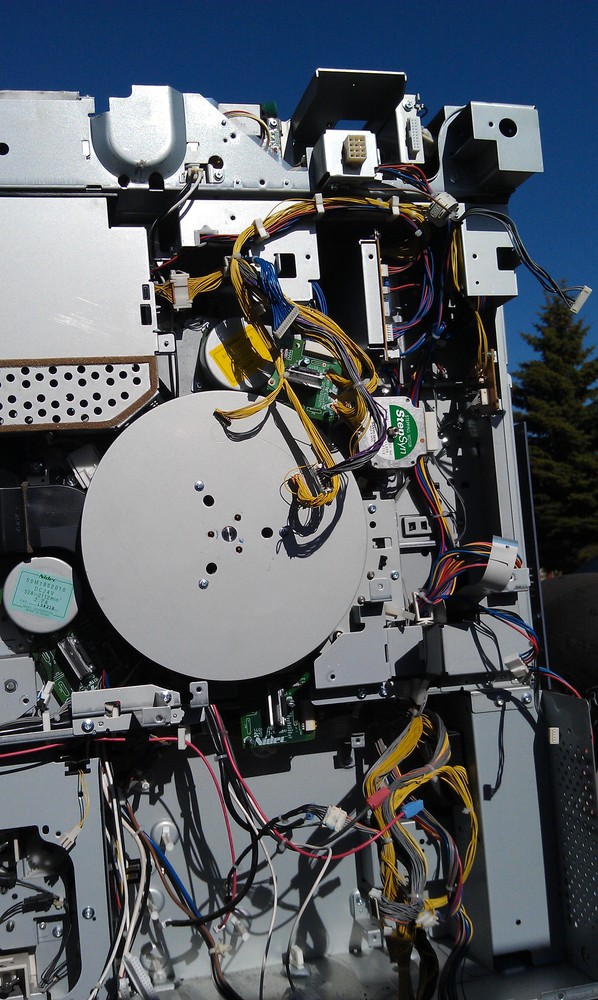

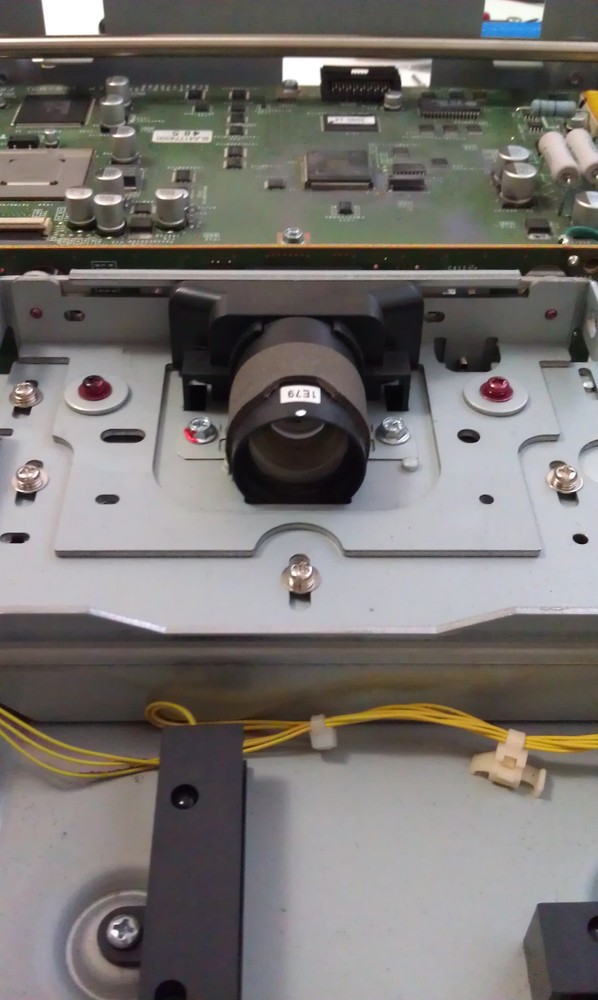
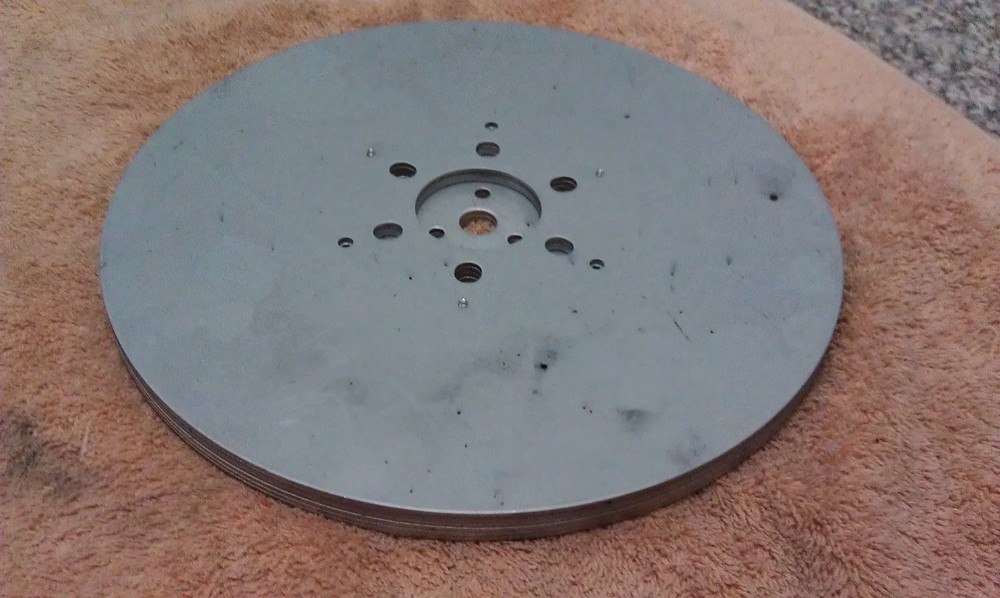
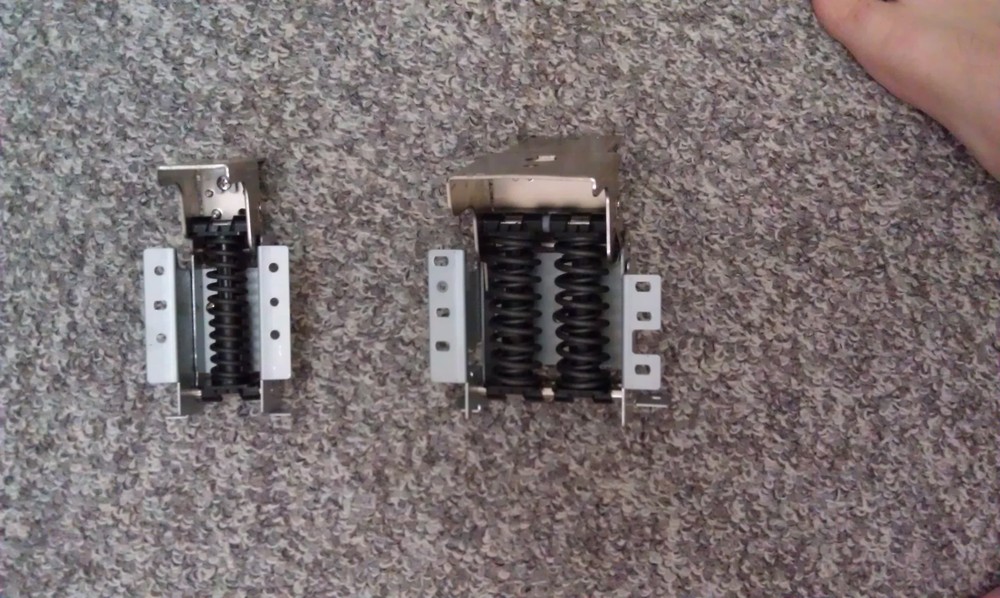
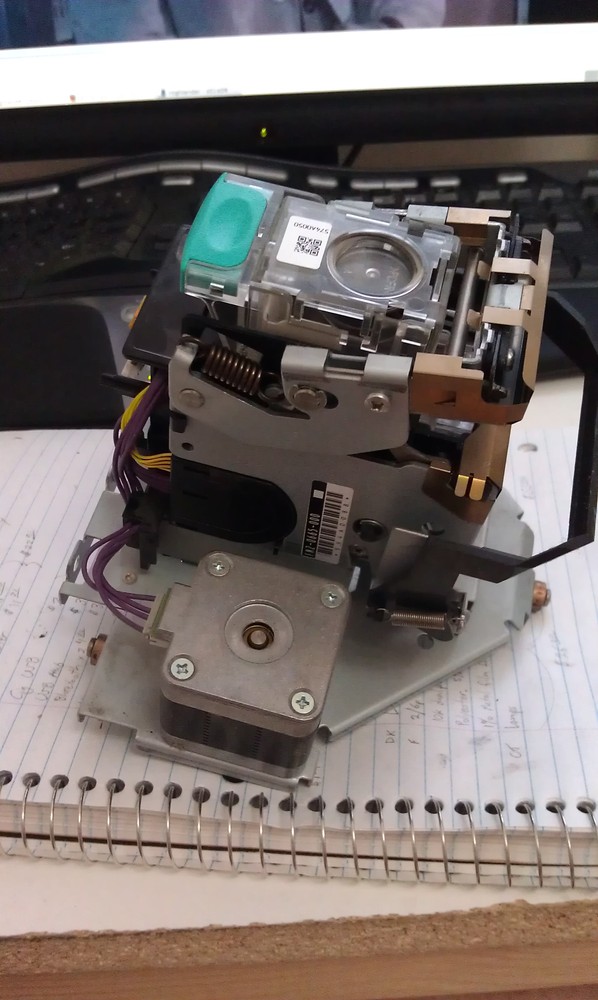
We took a break for some watermellons and my wife came out to help as I had been at it for several hours and had bearly scratched the surface of the thing. I had succesfully removed the majority of guts from the back of the unit and had scored a massive NEMA34 motor that turned the laser drum and a flywheel made out of 6 layers of laminated steel. I also scored some hinges that will be in a latter post if they work for what I have in mind. I decided to remove the scanner unit next, this tunred out to be interesting as it was obviously assembled piece by piece on top of the copier and not as a seperate unit as I had I’magined. I had to bend a few bits to remove the jelly feet it was on but I managed to get the entire scanner out in one piece. It uses an old but probably better method of scanning as it has a “reverse projector” setup with a cold cathode tube to light the document. Most desktop scanners use an led and a long strip of photo diodes that the scanner pulls past the document to read it in. This guy uses optics to reflect the document to a stationary photo diode array. I may write a post in just the scanner as its quite interesting.
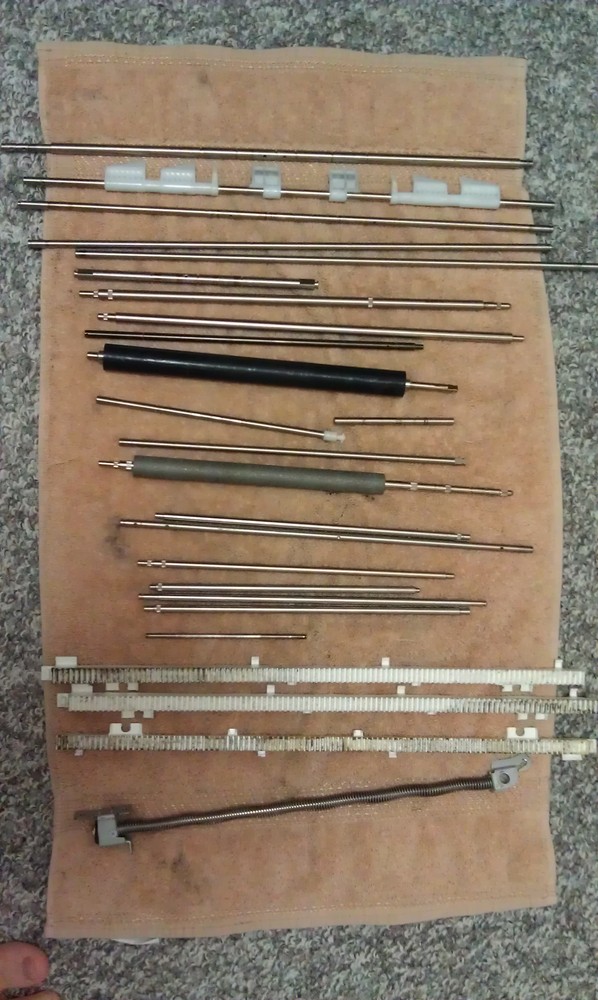
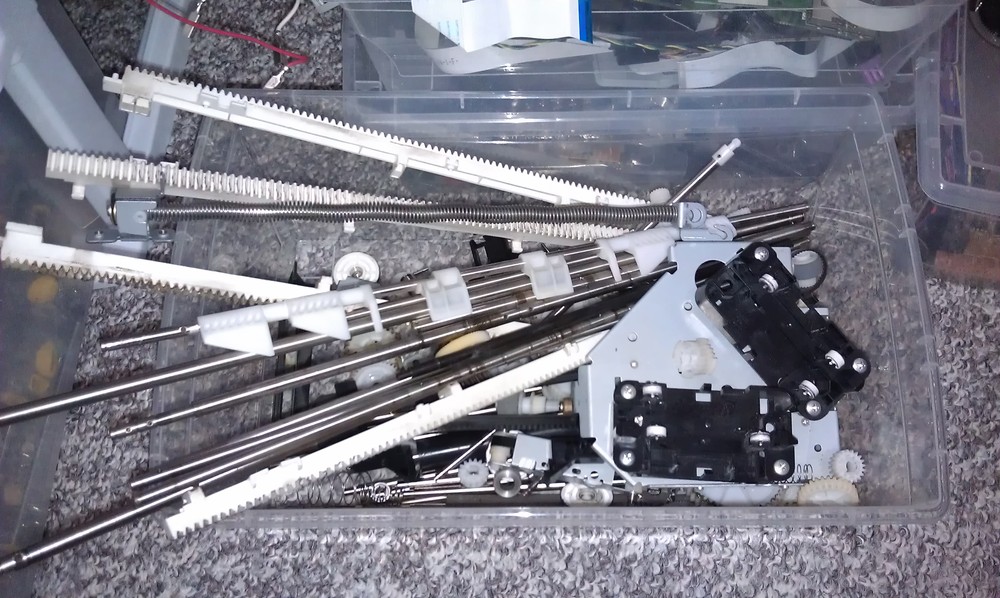
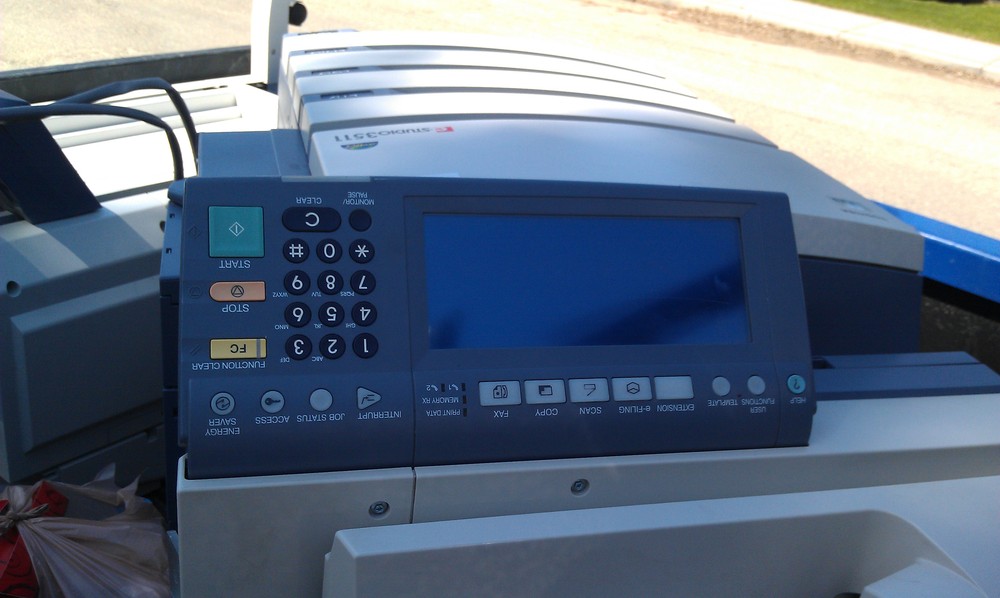
After the scanner was removed I took off the LCD panel as its quite large and would make a good interface for something I’m sure. I will do a writeup on it as I learn exactly what the heck is inside it. After all of this it was getting quite late again so I stopped taking pictures and focused on just getting the thing takken appart before the city bylaw officer drove by again and decided to ask question. Not much of interest came out of the main body of the copier. The entire paper drawers had nothing unefull in them beside a gear train to remove paper and it was all plastic so I tossed it away. The main guts of the machine was a metric ton of rods with things attached to them. I got thin rods, thick rods, a giant green rod, ones that are squishy, ones that are magnetic and ones that where sharp and made me bleed. The main laser unit was kind of a letdown actually. It took almost two hours to get to it and it consisted of a square mirror and three lenses to spread the laser beam onto the toner rolls and a 90deg laser collI’mator. While the lenses are useless the 90deg collI’mator may come in really handy down the road so I will look into that later.
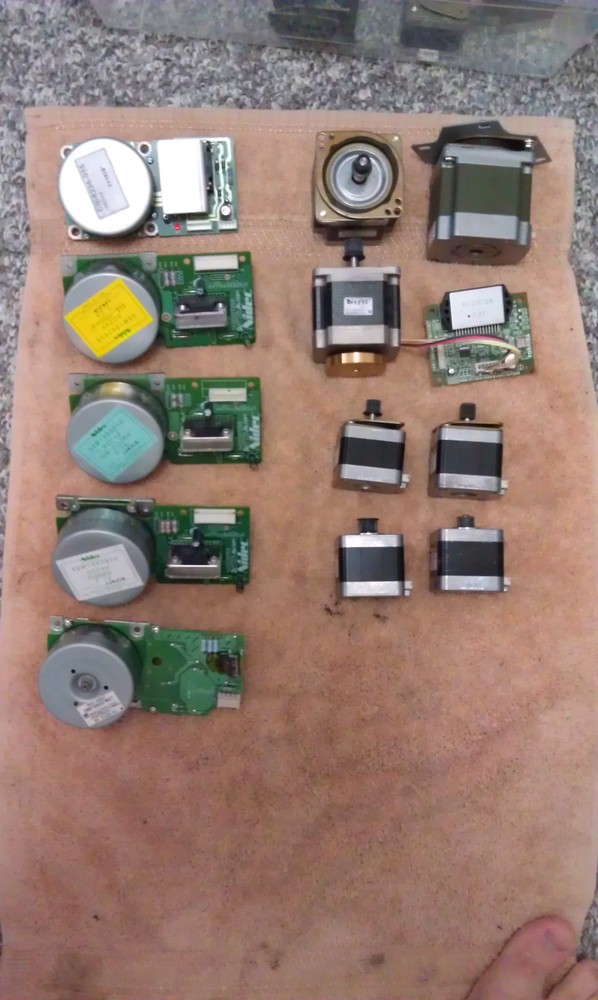
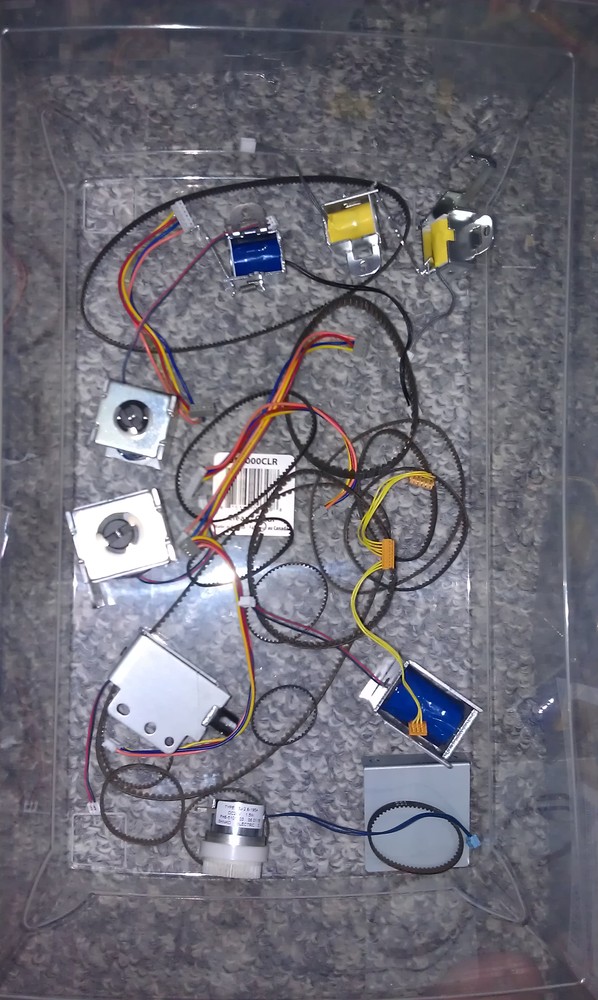
About a week later and I had finished stripping down the multitude of components and sorted them into relevent bins. This was a fantastic score I must say, I got so much stuff I will not need to buy or make mechanical parts or gears for the forseable future! In total I got:
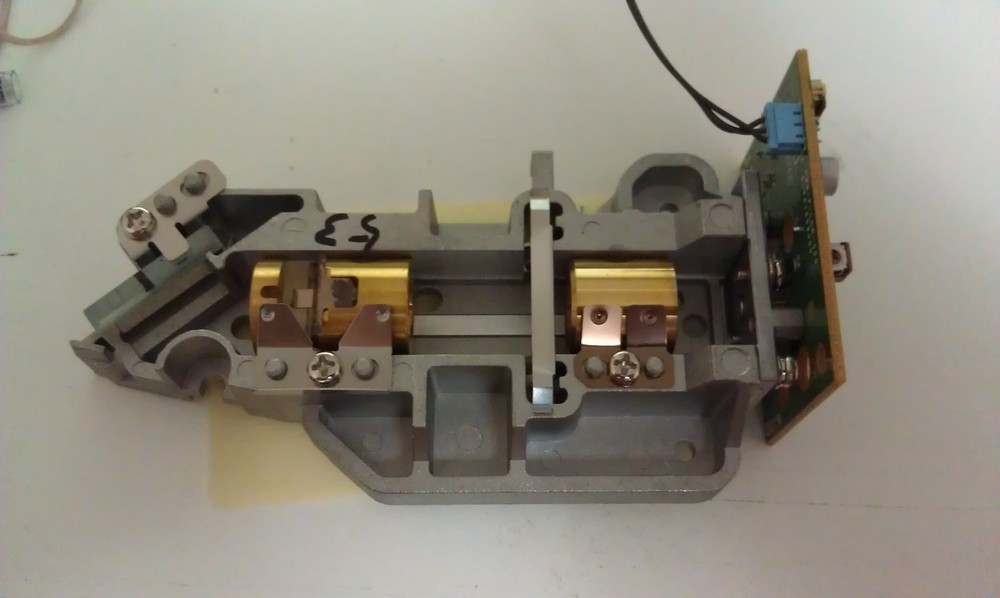
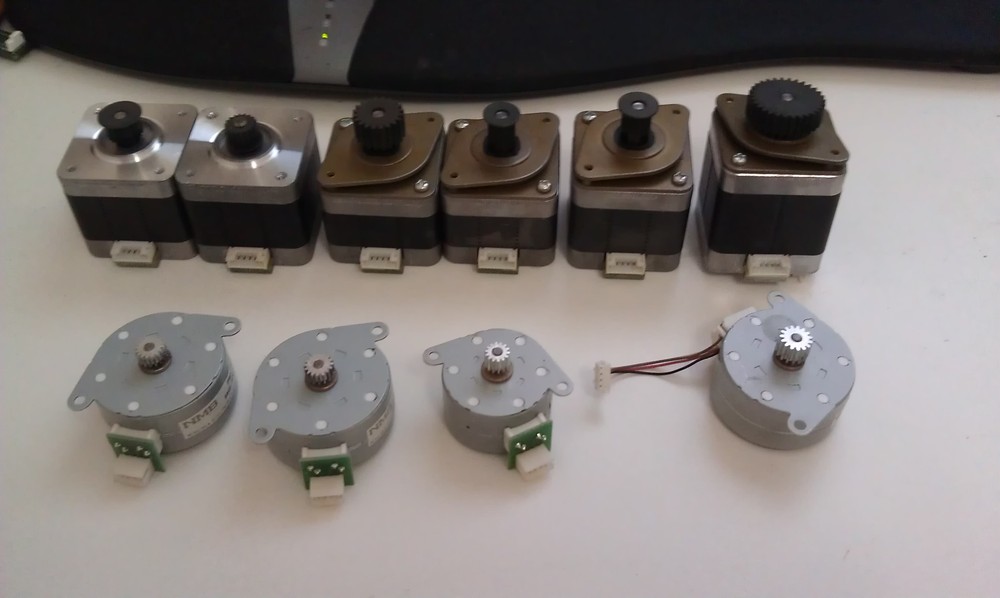
05 - Brushless DC motors with controllers
06 - NEMA12 Stepper Motors (I assume NEMA12, they are quite small)
10 - NEMA17 Stepper Motors
03 - NEMA23 Stepper Motors (Two with seperate controllers)
03 - NEMA34 Stepper Motors (Two with seperate controllers and one HUGE motor)
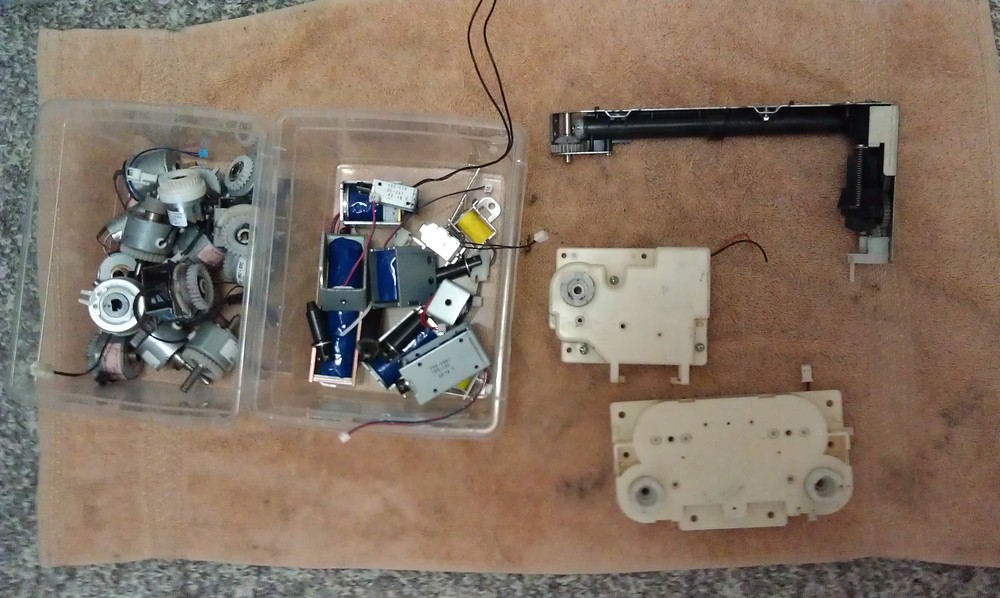
18 - Solinoids of random sizes
32 - Rods of random sizes, some with removable bits on them. (One is a huge green roller and ones even magnetic)
03 - Power supplies that provide a wacky range of voltages
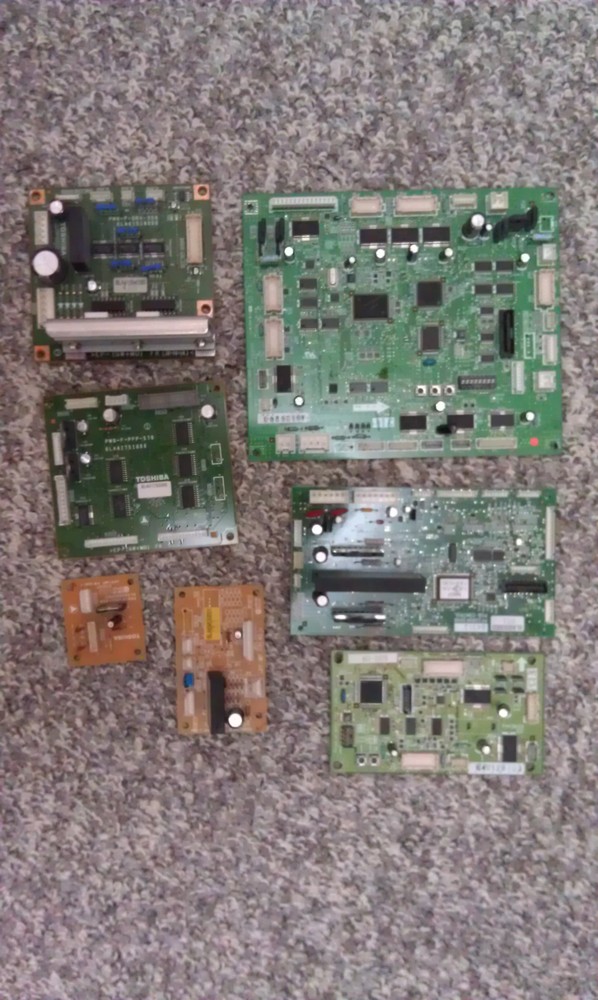
13 - PCB that handle the IO and motor functions. Many gull wing H-Bridge packages
02 - HEAVY duty hinges
01 - Massive flywheel
01 - Power stapler
01 - Power hole punch
01 - Funky 90deg gear train
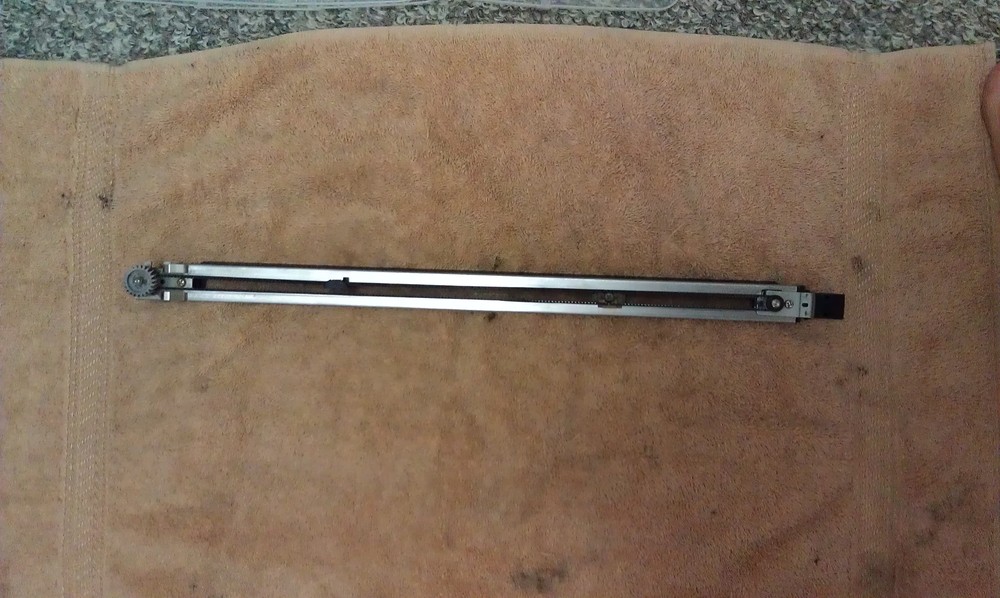
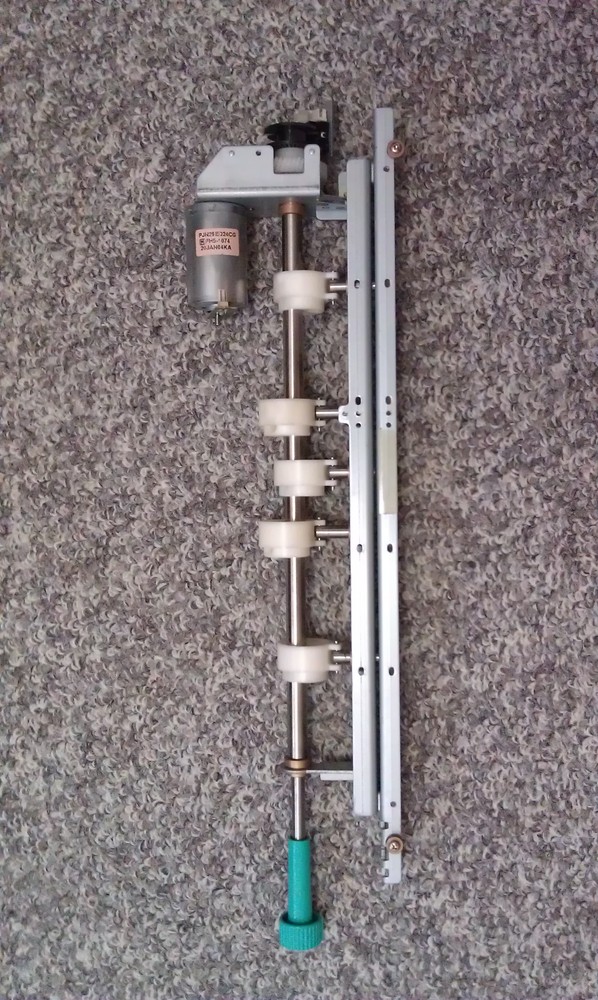
01 - Linear motion stage, quite thin but could be handy in a light project
01 - 90deg laser collI’mation assembly (To be written about at a later date)
And more that I have forgotten about…